Aamcho CFR Mapping
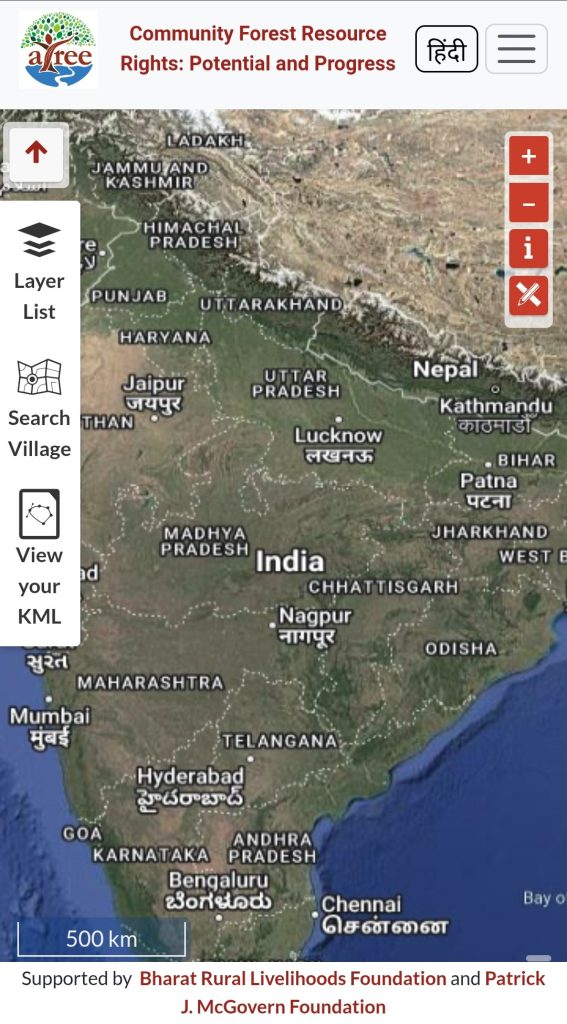
Community Forest Resource Rights: Potential and Progress
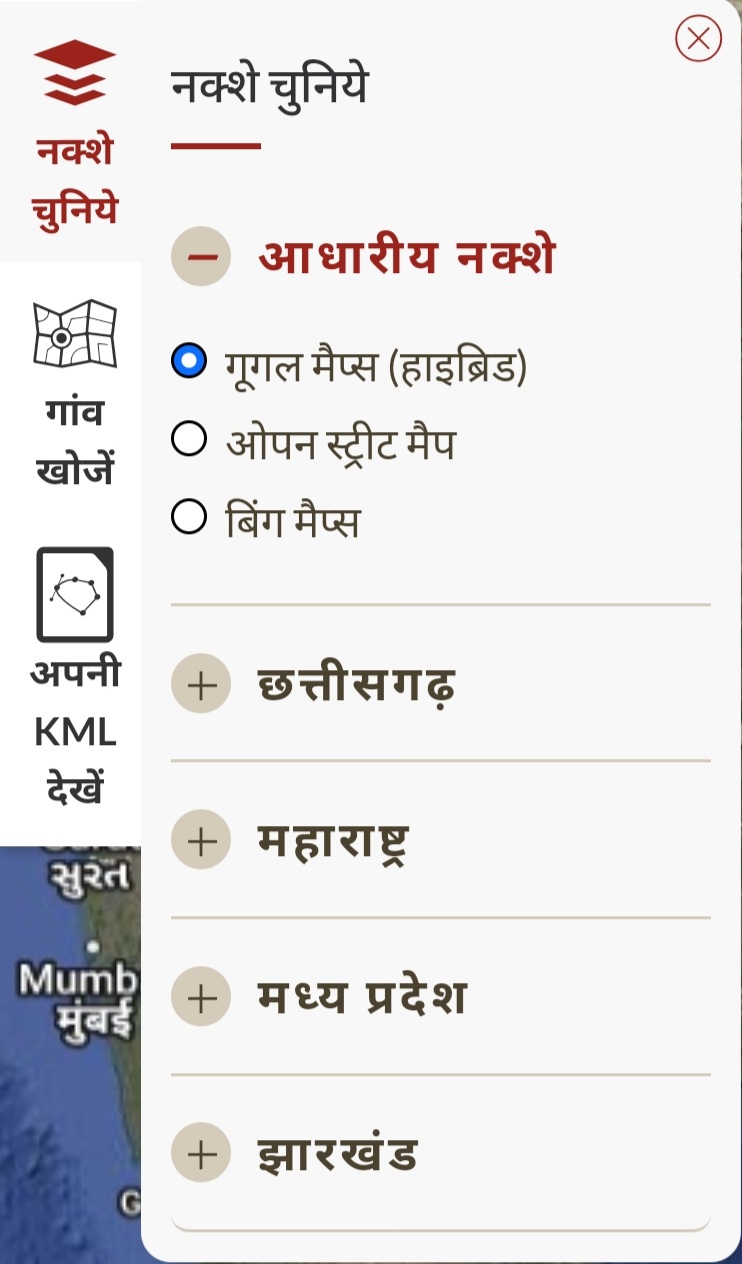
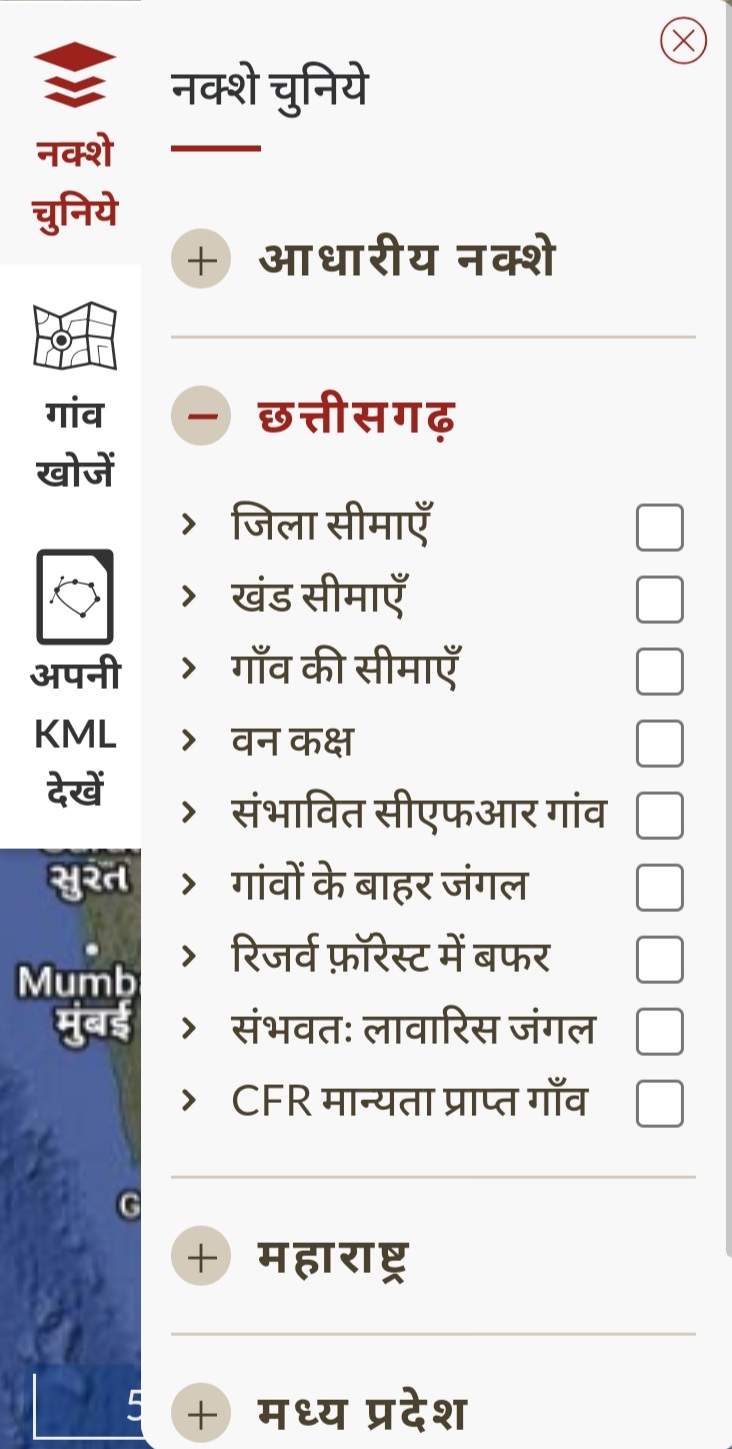
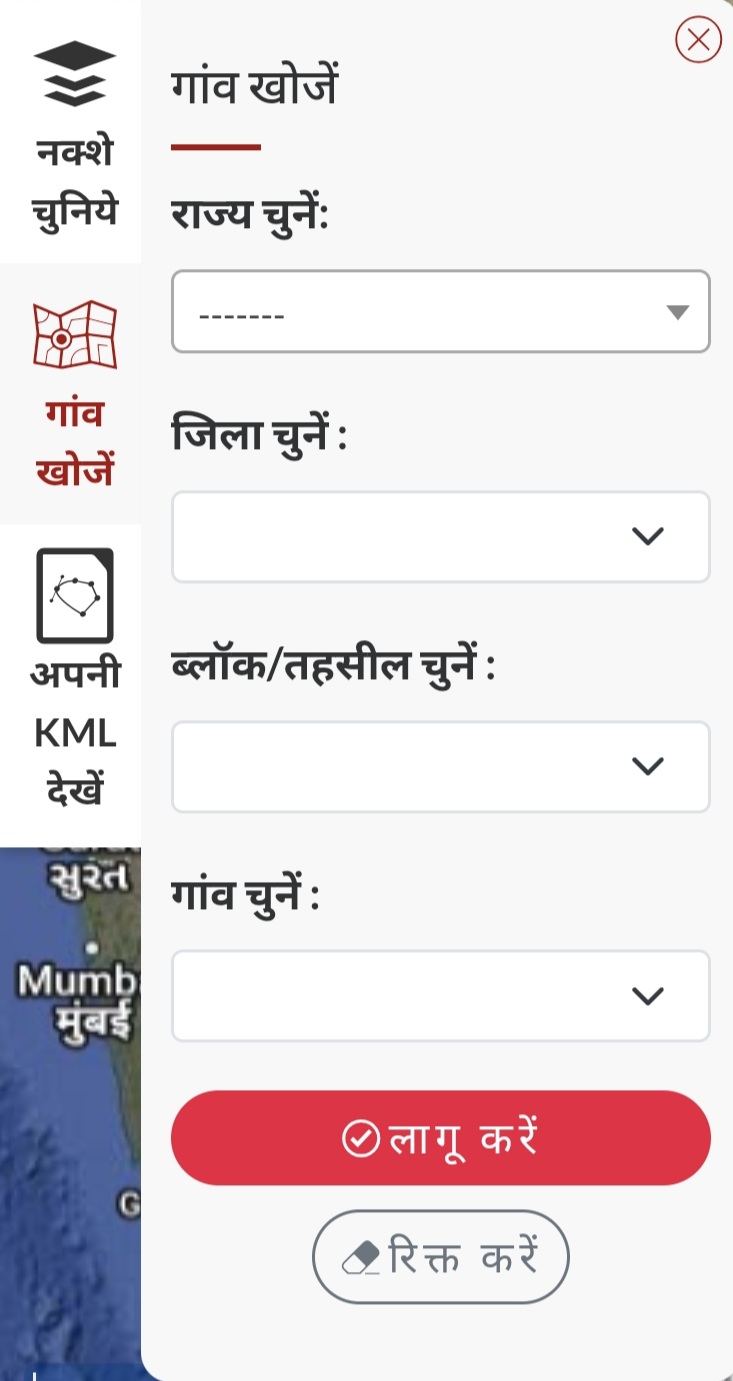
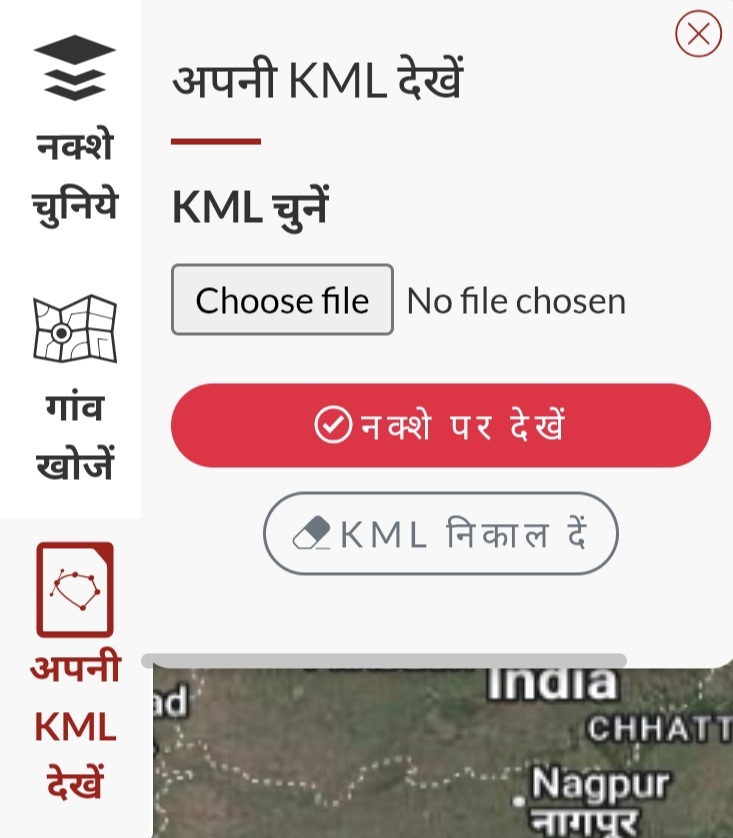
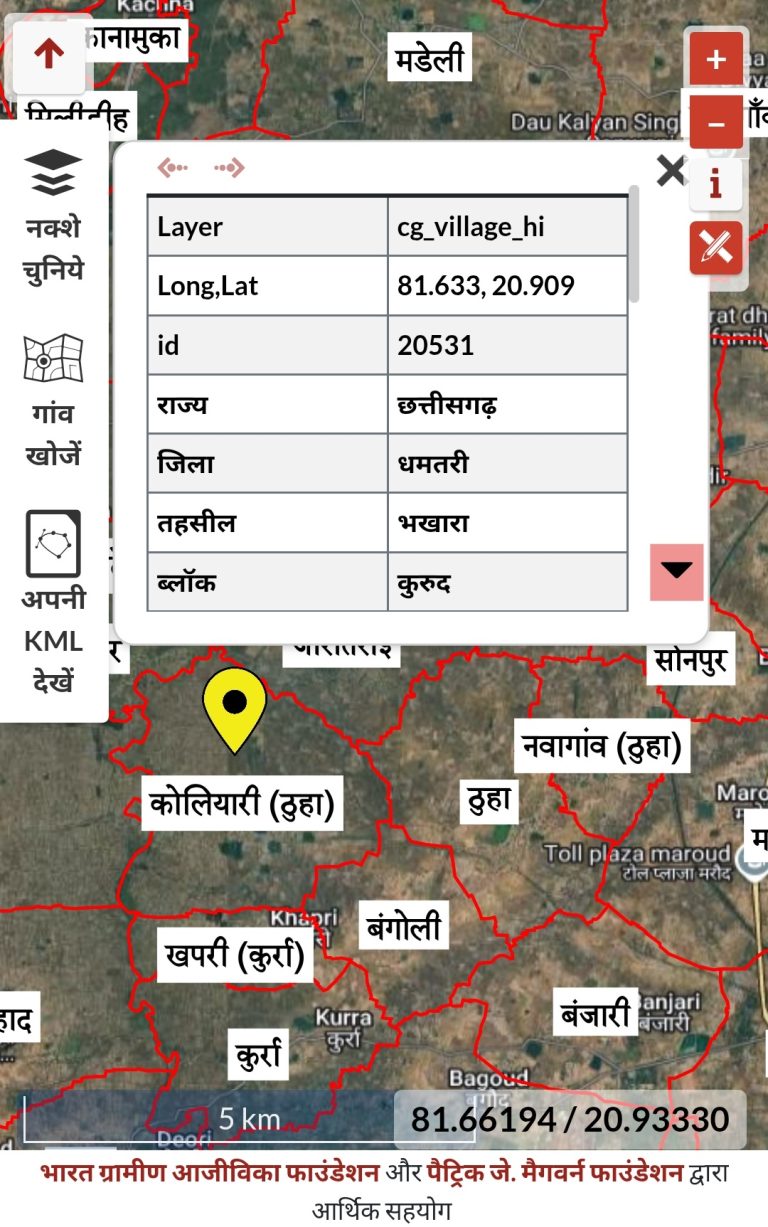
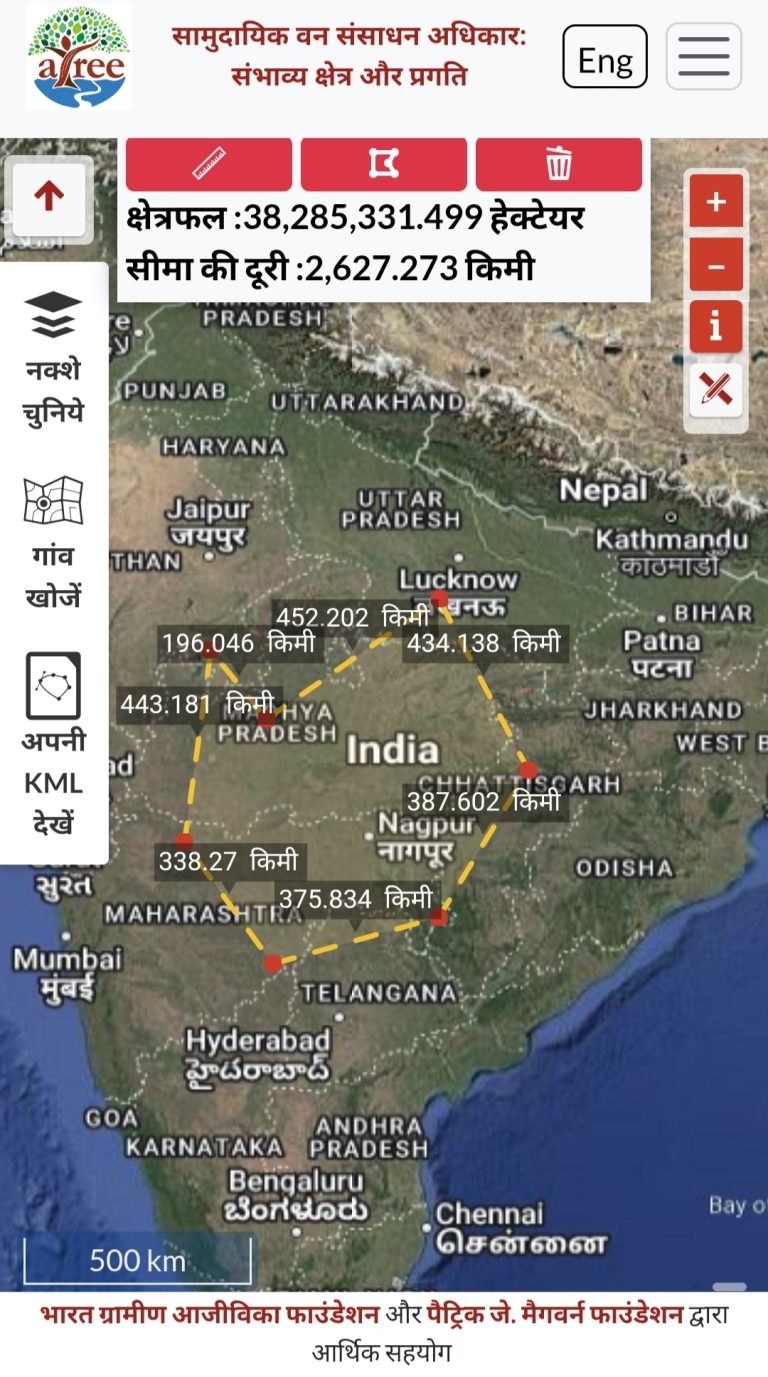
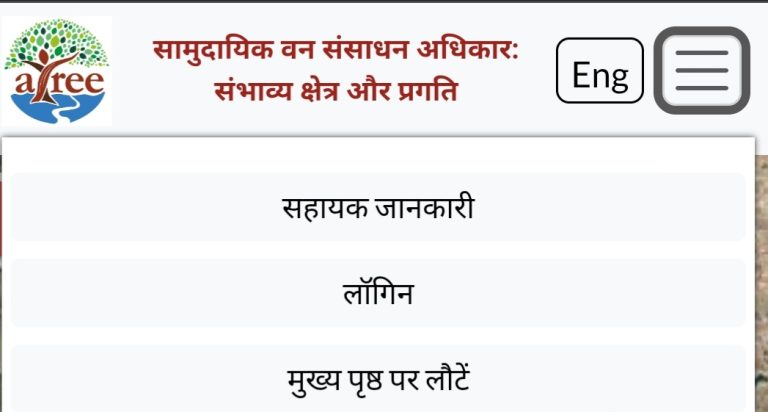
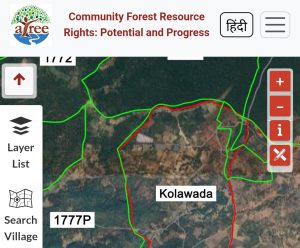
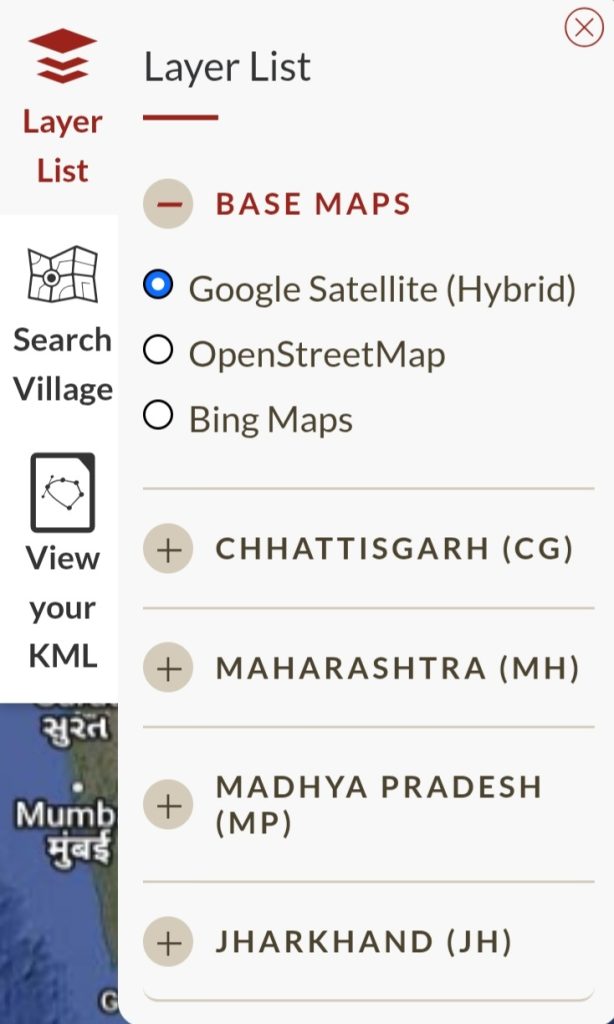
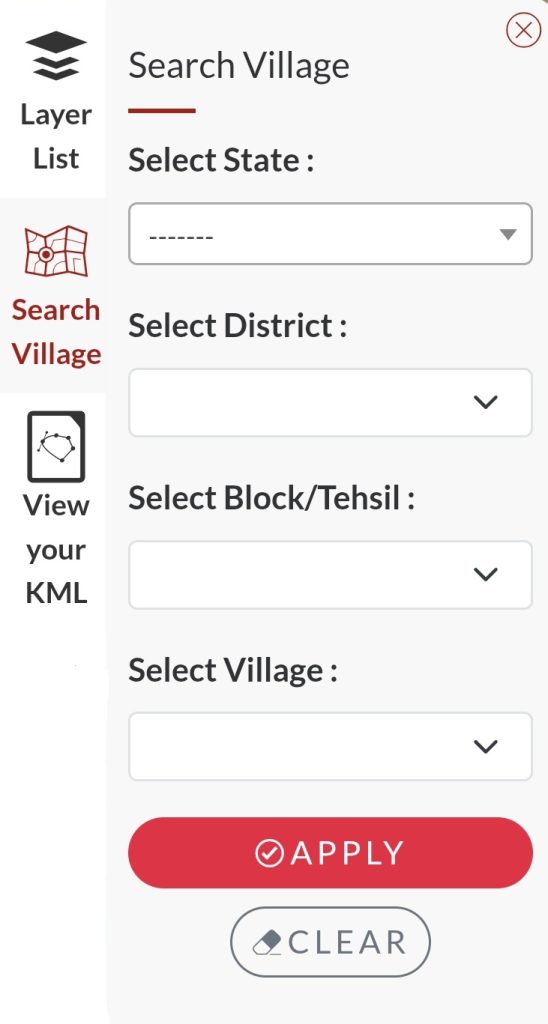
Guide to the CFR Potential WebGIS interface

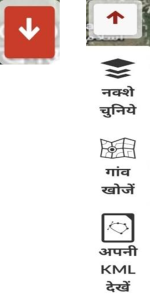
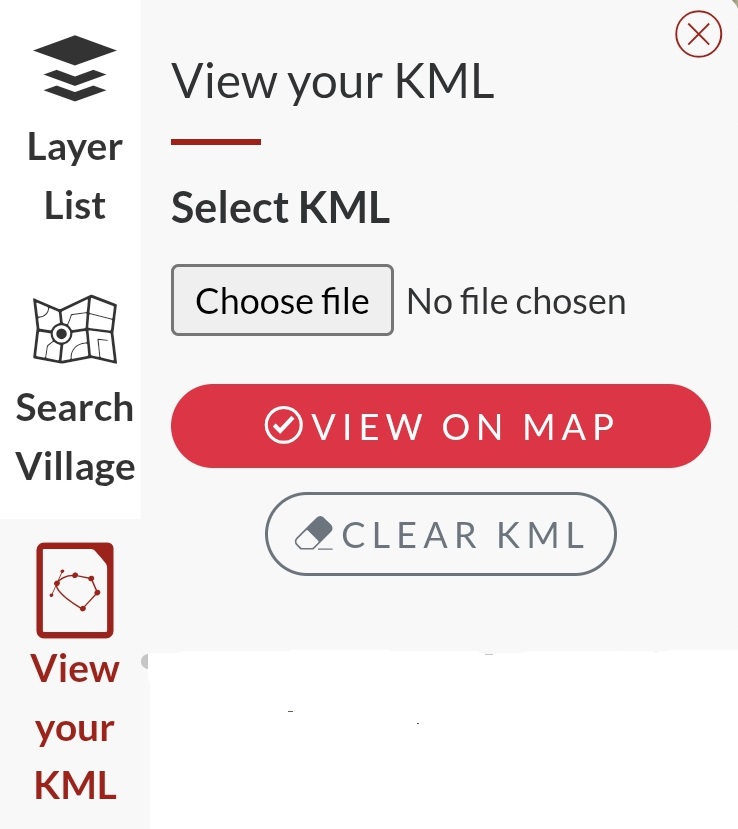
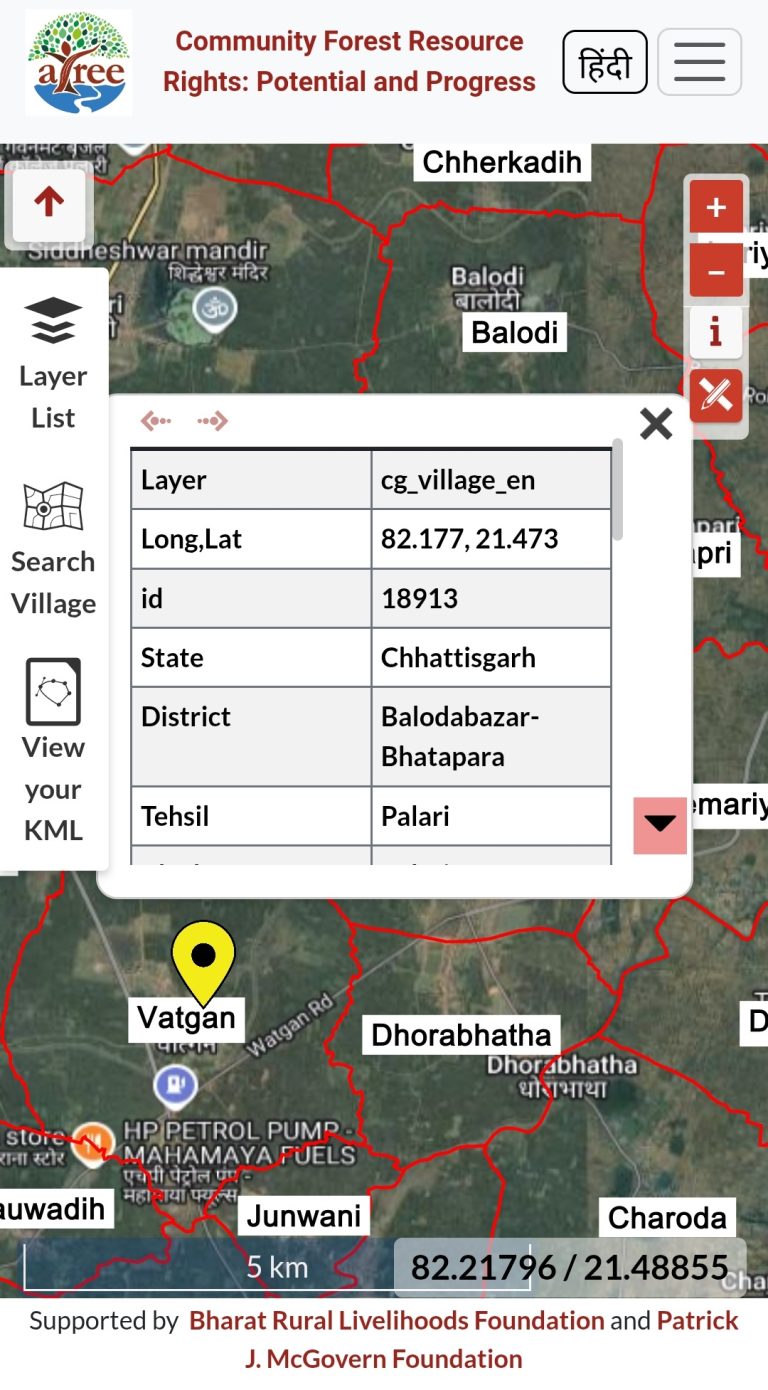
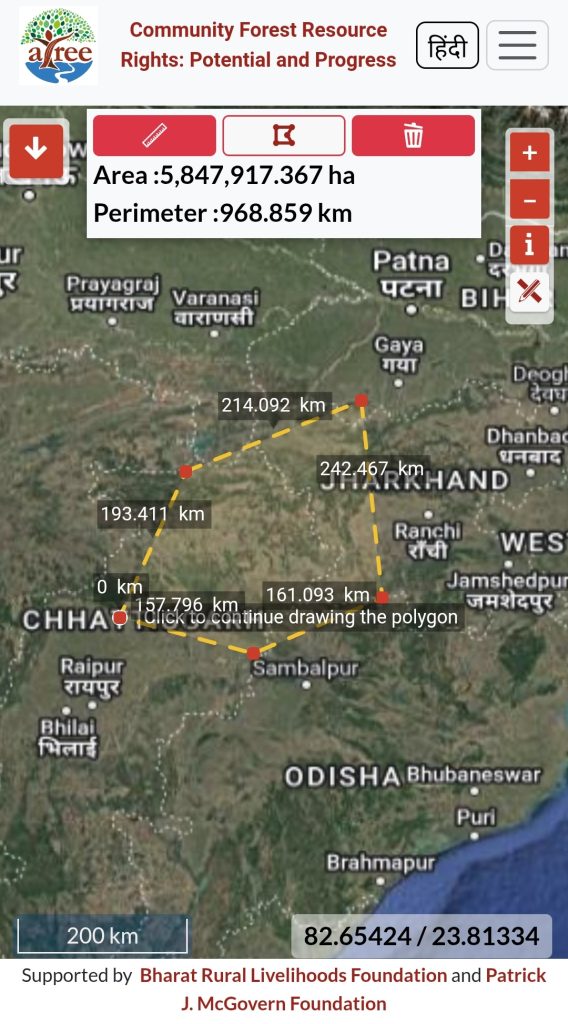
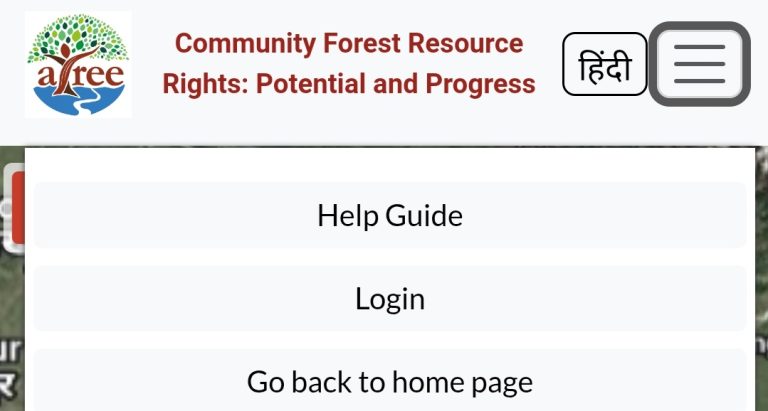
CFR WebGIS इंटरफेस - सहायक जानकारी